DIY Retinol Facial Serum
Dr. Josh Axe, DC, DNM, CN – Although the skin is subject to acne, other skin conditions and aging, as the body’s largest organ, it also has the potential to soak up a lot of healthy vitamins. One of the main vitamins our skin soaks up is vitamin D, which it absorbs from sunlight. The skin can also absorb vitamins from face creams and moisturizers, including retinoids, which contain lots of vitamin A.
Retinoids may be the way to healthier, more youthful skin. Read on to learn more about retinoids, retinol cream and how you can make your own homemade retinol facial serum.
What Is Retinol Cream?
Retinoids and retinol cream products were originally developed in the 1970s as an acne treatment. They also are used as a way to help treat aging skin, psoriasis and warts. Retinoids are vitamin A derivatives. Vitamin A has been known to help with eyesight, and it also helps keep the skin healthy.
Retinoids are derived from animal sources and include retinol. Other sources come from carotenoids, originally from plants, and include beta-carotene, which the body converts to vitamin A. The major carotenoids are lycopene, lutein, and zeaxantuin, and are filled with antioxidant and photoprotective properties.
Retinol face cream has many uses, such as minimizing the appearance of wrinkles, helping keep the skin thicker, maintaining the elasticity of the skin, slowing the breakdown of collagen, which helps keep the skin firm, and lightening those annoying brown spots caused by sun exposure and age. Retinoids can speed up the cell turnover of the skin. This process helps even out skin discoloration and smooths the skin.
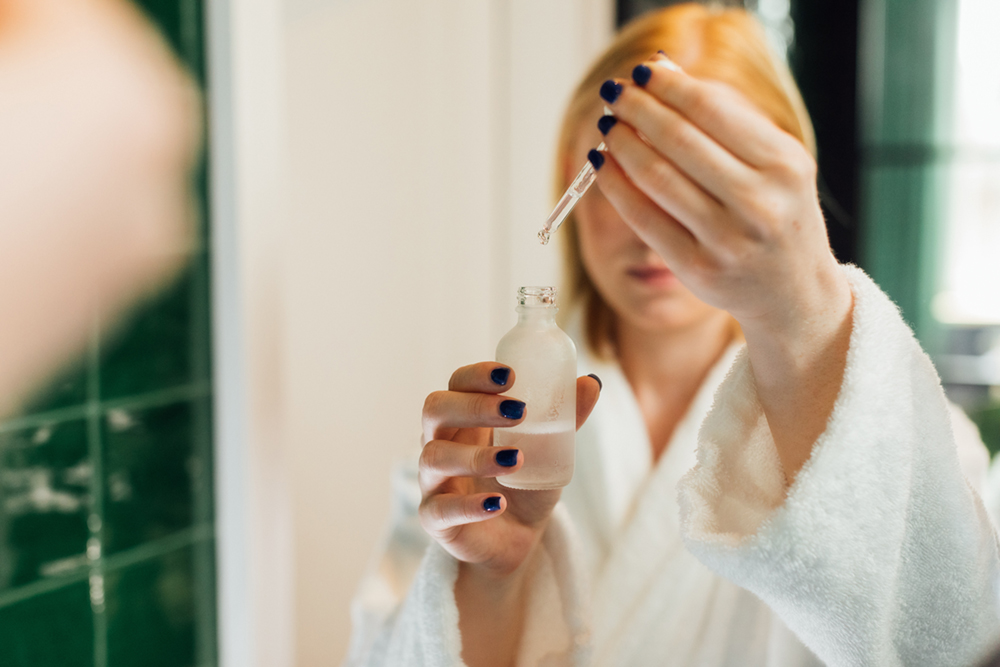
How to Make Homemade Retinol Facial Serum
First, you’ll want to pour some carrot seed oil and rosehip oil into a glass measuring cup (see the full recipe at the end of this article). Carrot seed oil is high in antioxidants and a great natural retinol, and it comes from the seeds of Daucus carota, also known as Queen Anne’s Lace. Rosehip oil is great because it is high in vitamin C and provides anti-aging benefits such as protection from age spots.
Next, place a shallow pan on the stove with about two inches of water in it and heat the water on low. Place the measuring cup in the pan, acting as a double-boiler. Now, add the almond oil and the apricot oil. Almond oil is great because it acts as a moisturizer and does not clog pores. Apricot oil is also a great moisturizer while offering vitamin A. Add these ingredients and stir, keeping the heat on low.
Add the shea butter and green tea extract. Shea butter will add creaminess to the mixture while providing amazing skin healing benefits. Green tea is known as the anti-aging tea. Green tea extract benefits the skin much in the same way due to its numerous polyphenols it contains. The antibacterial and anti-inflammatory benefits include helping reduce acne while fighting the signs of aging.
It’s no secret that shea butter is great for the skin. Shea butter is rich in both vitamin A and vitamin E, making it the perfect choice for this anti-aging recipe! Once added, stir until you reach a creamy texture.
Lastly, add the anti-aging essential oils, lavender and frankincense. Lavender essential oil does more than relax you; it gives the skin a boost because of its antimicrobial and antioxidant characteristics. Additionally, lavender and frankincense both help reduce age spots. Frankincense also helps eliminate acne, wrinkles and scars.
Lemon essential oil contains a ton of vitamin C and while you don’t want to overdo it because the skin can be very sensitive to the potency of pure vitamin C, one drop added to this mixture can offer some amazing skin-glowing benefits by reducing photoaging.
Make sure to blend all ingredients well. Remove from heat and allow it to cool. Once cooled, place in a glass container. Using a dark glass container will help it to last longer or you can store it in the fridge.
Apply a small amount to the skin at night before bed. Make sure to apply it to clean skin. Use my Homemade Honey Face Wash, then pat dry.
Precautions
When using retinoid or retinol-based products, it is best to start with applying them every third day. Given that retinoids can cause some initial irritation, it helps to allow the skin to get used to it before going to daily use. Using it at night helps because using it while in the sun can cause sensitivity to the skin. Regardless, you will need to wear an all-natural sunscreen anywhere that you may be applying the retinol cream.
If you are pregnant, check with your doctor before using retinol or high doses of vitamin A.
Make sure to clean your skin and pat dry before applying the retinol products. To minimize skin irritation, it is best to avoid using with other skin care products — especially if they contain benzoyl peroxide, sulfur, resorcinol or salicylic acid.
DIY Retinol Facial Serum Recipe
Retinoids may be the way to healthier, more youthful skin. Learn how you can make your own homemade retinol facial serum.
INGREDIENTS
- 1 tablespoon rosehip seed oil
- 10 drops carrot seed oil
- 1 tablespoon almond oil
- 1 tablespoon apricot oil
- 1 teaspoon shea butter
- 10 drops lavender essential oil
- 10 drops frankincense essential oil
- 1 drop lemon essential oil
- small glass measuring cup
- shallow pan
- glass storage container
INSTRUCTIONS
- Pour the rosehip oil and carrot seed oil into a glass measuring cup.
- Place a shallow pan on the stove with about 2 inches of water in it and heat the water on low.
- Place the measuring cup in the pan, acting as a double-boiler.
- Add the almond oil and the apricot oil to the oils in the measuring cup.
- Next, add the shea butter to the mixture.
- Add the lavender, frankincense and lemon oils and blend well.
- Remove from heat and allow it to cool. Once cooled, place in a glass container.
- Apply a small amount to the skin at night before bed. Make sure to apply it to clean, dry skin.
NOTES
This facial serum should be stable at room temperature for at least a month. For higher temperatures, consider placing in the refrigerator.
To read the original article click here.